godfuckingsamnit
Of course, of fucking course this crashed. I had to rewrite this damn thread. Anyway, this is my take on the sear carbine. I've had like 7 people ask me for this, and half were on NH from Aeromech's thread. Sorry to hijack your thread, but you're not even working on it. Some of this will look familiar, since it's from Chris's thread. Part of it is relevant to the post IMO,
because Chris can upload a writeup thats wip, I'm gonna too. it'll be done before APOC, just couldn't work on it today.
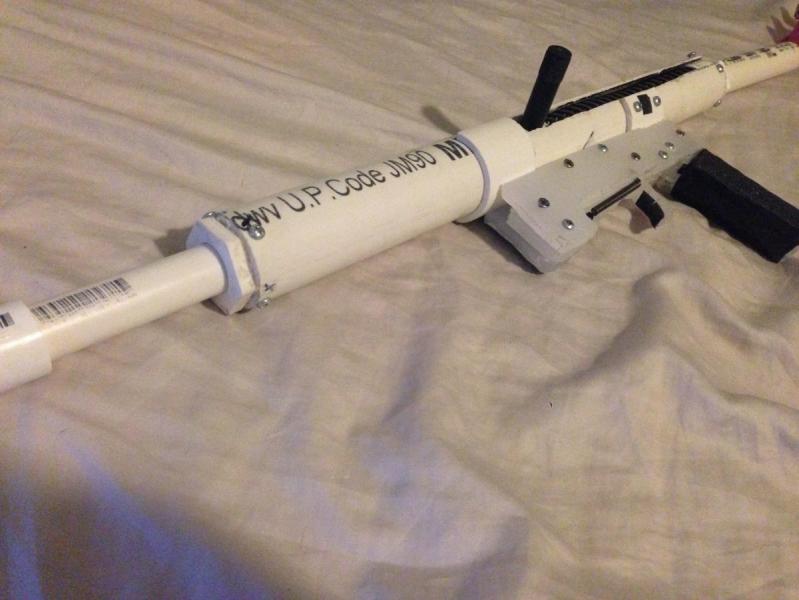
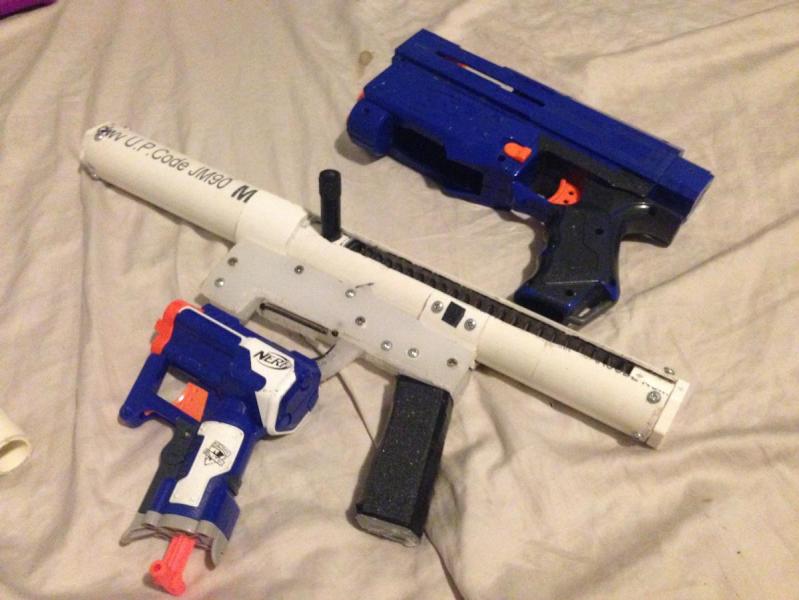
You'll be making one of these! Yes they can hop!
Read the whole writeup before you build one
This is text heavy, anything with a spoiler isn't neccesary to be read, but I highly reccomend it. Overall, I feel like I could replicate this in a few hours. Probably will take you 6. Less time than to write this whole fucking writeup.
I am not responsible for any damage or any actions you make following this guide. It is up to you to use common sense building and using this blaster. Wear eye protection and gloves, work in a ventilated space and don't point this at anyone outside of playing a game.
Preface
My Build goals
WHAT YOU WILL NEED
Materials
4 in of 1-1/2 in PVC
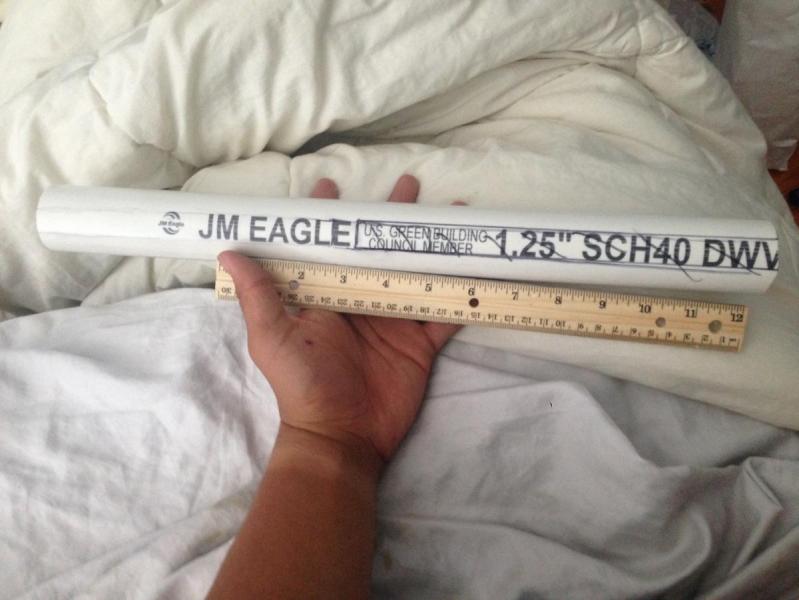
17 in of 1-1/4 in PVC
7 in of 1 in PVC
12 in of 3/4 in PVC (or more, most of it is for the stock)
1 in of 1/2 in PVC
1-1/4 in to 3/4 in bushing
1-1/4 in to 1/2 in bushing
3/4 in elbow
3/4 in cap
6x6 in of cutting board (the good shit, HDPE would work great. It's like 1/4 in thick, you can use polycarb if you want too)
3-1/2 in of nylon/delrin (replacable with a wooden dowel
k18 spring (you can use k25 or k26, but will need some more 1 in PVC for anti kink) [McMaster Carr part]
12 #6 screws (3/8 in long)
10 #6 screws (1 in long)
6 flathead #6 screws (1 in long)
some tiny extension spring. You can find one in a pen or a tek 6. alternatively, a rubberband works
2 nerf screws
epoxy putty
goop (epoxy can work)
superglue
silicone grease
u-cup seal (skirt seal works too) the shit that fits in 1-1/4 in PVC [McMaster Carr part]
packing tape
4 #6 washers
1/4in to 1-1/4in washer (any type washer with a diameter of 1 1/4" will suffice. this isn't mandated if u have a k18 spring but helps keep dirt out. alternatively you can make it out of cutting board and secure it to the bolt with another machine screw)
NOTE
Tools
Dremel + cutting wheel, sanding bit
Drill set up to 1/2 in
(only 1/2 in, 7/64, 5/64 and 5/32 bits were used)
Hacksaw
Sandpaper
Sharpie
Template
Gloves
Eyeprotection
Filtration mask (fuck these fumes)
Ruler
Pliers
Screwdriver
Optional but reccomended
Pipecutter (the spinny one!)
Holesaw
3/8 drill bit (SPEEDHOLES)
Countersink (not required. Ghetto technique is shown below)
Vice (I only used mine to make the speedholes in the "bolt" and freestyled everything else)
Probably a belt sander and scroll saw but I didn't even touch one making this
STEPS
oh boy, now it's about time to start. About damn time. All steps will be BELOW the photo. Make sure everything is cut to length as displayed above. If you notice any discrepencies in photos, or slight differences, I'm making 3 of these blasters at the same time.
Upper steps
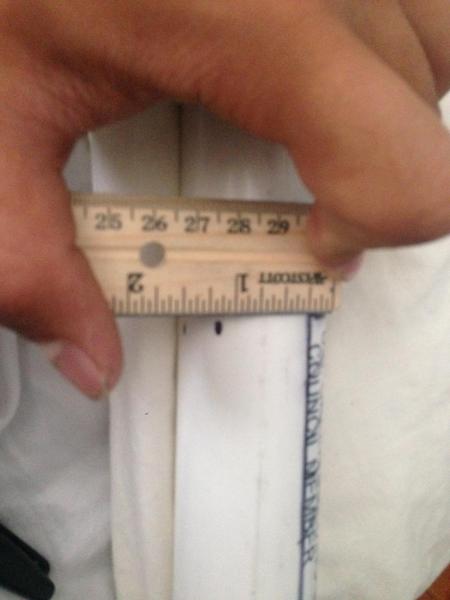
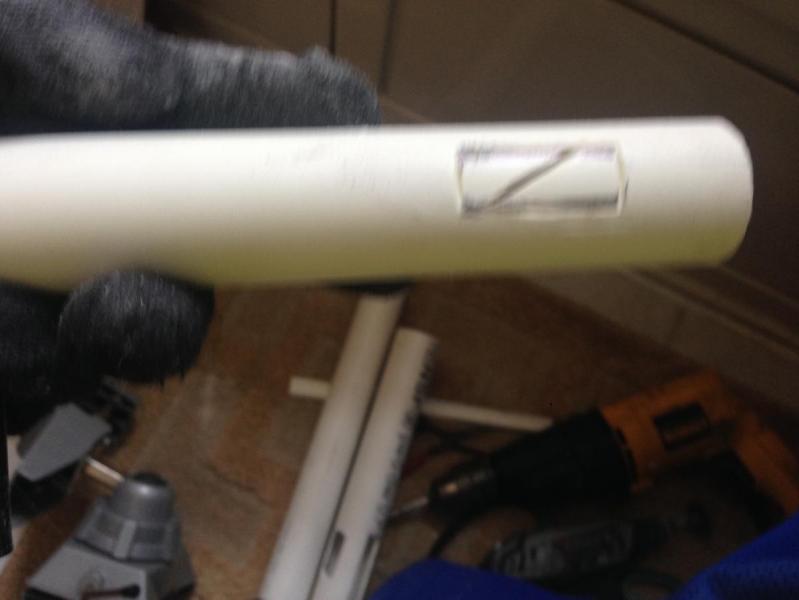
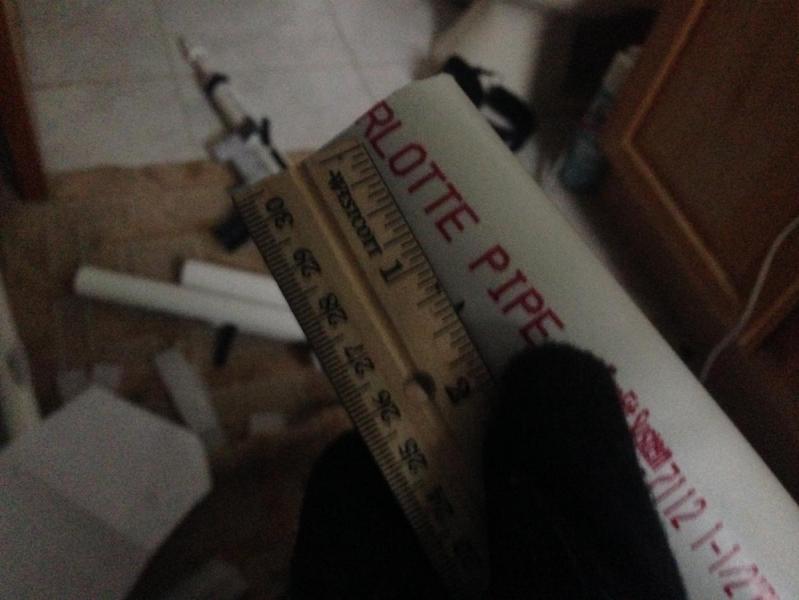
7 inches away from one end of the front end (doesn't really matter which side) make a mark. Than continue the mark for the other 10 inches to the other side of the PVC.
Go up half inch from where you initially started the first mark. Than make a line parallel and straight like the other one.
This is your slot, where the charging handle will go through. Make sure your charging handle can slide through no problem. If it can't sand or cut out more material
Mark another slot 1/2 in wide and 2 in long somewhere. This will be kinda where you're gripping from, so make sure you can pull the bolt and that you like the angle it's at. It has to be at least an inch away from the first slot
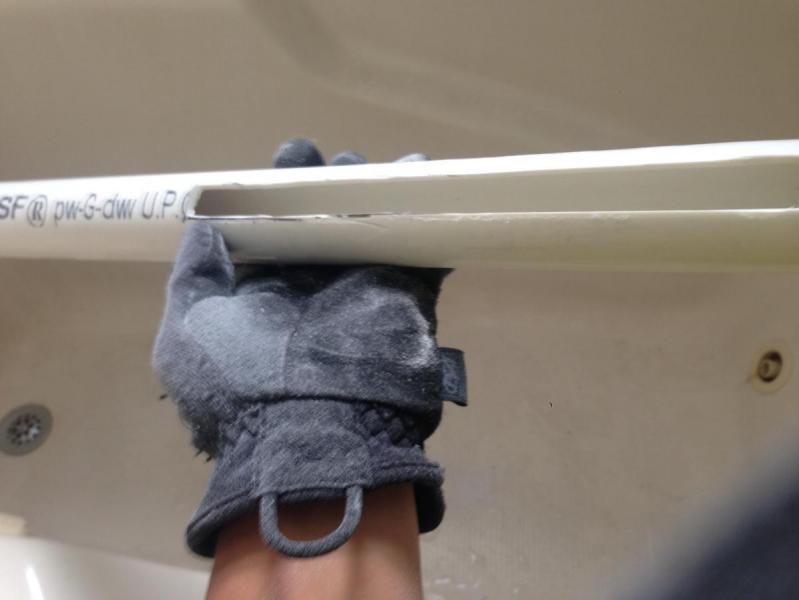
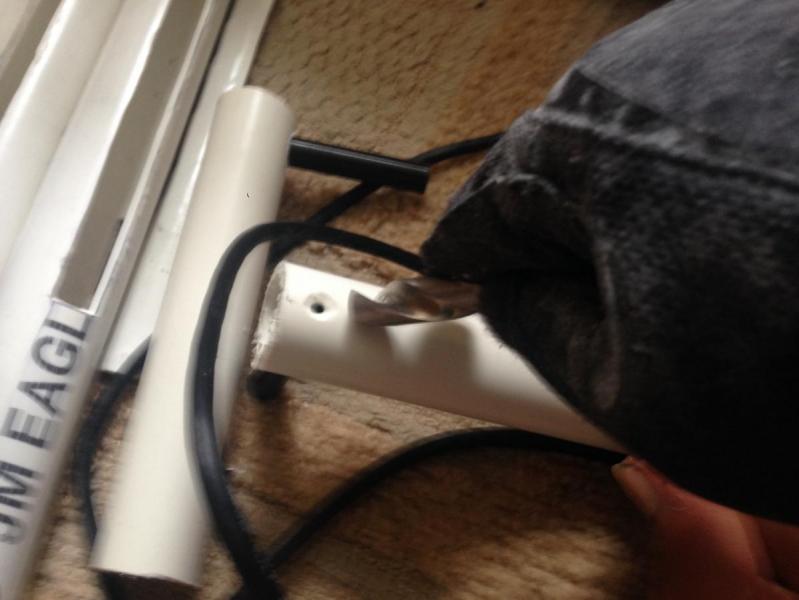
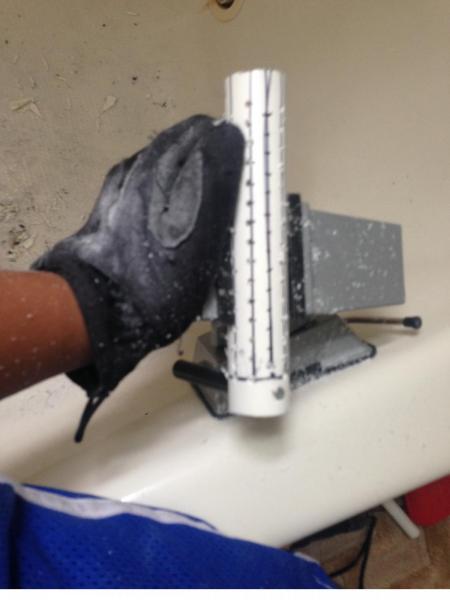
Cut your shit out. I start cutting from the start and than out of the PVC, instead of inward for the main slot. For the end, you can drill with a half in bit so it touches and than dremel out, but I just cut at it a little bit with the dremel, and than snapped it out with pliers. Sand and deburr. Also look at dat priveledge on my glove,

See you can drill this slot out with just your drill, but I sunk in my dremel, than made a little cut into both ends, than a triangle cut like shown. This is so I can put a pair of pliers in and snap them both out. Deburr and sand.
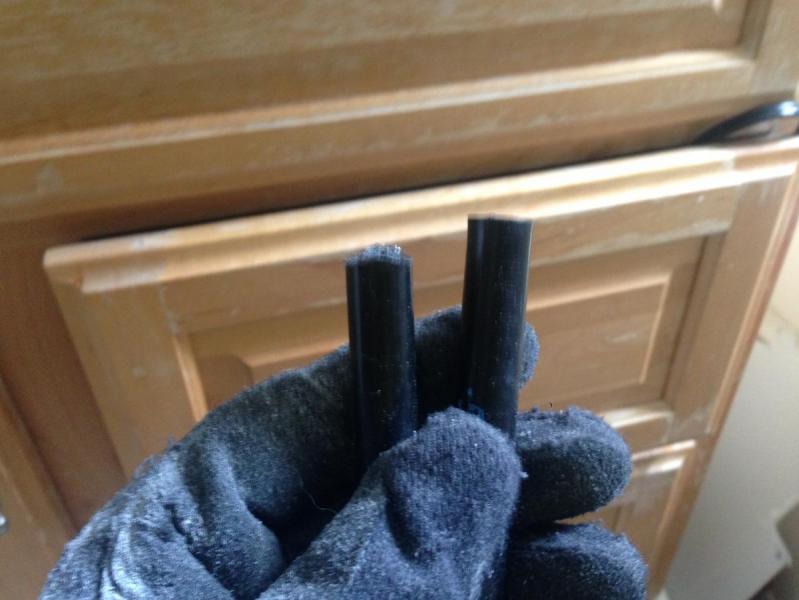
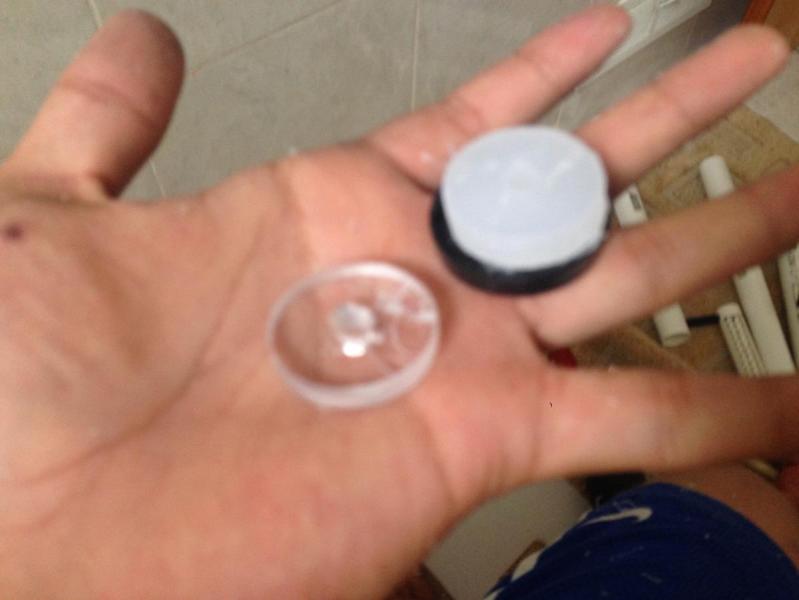
cut a ring of 3/4 in PVC to 1/4 in long. Nylon rod cut is also shown. Feel free to make the nylon abit longer or shorter if you like,
but 3-1/2 in long is a long enough charging handle for me
sand that nylon a bit so its a rounded at the front. Not too much, just as shown so it fits in the inner wall of 1 in PVC
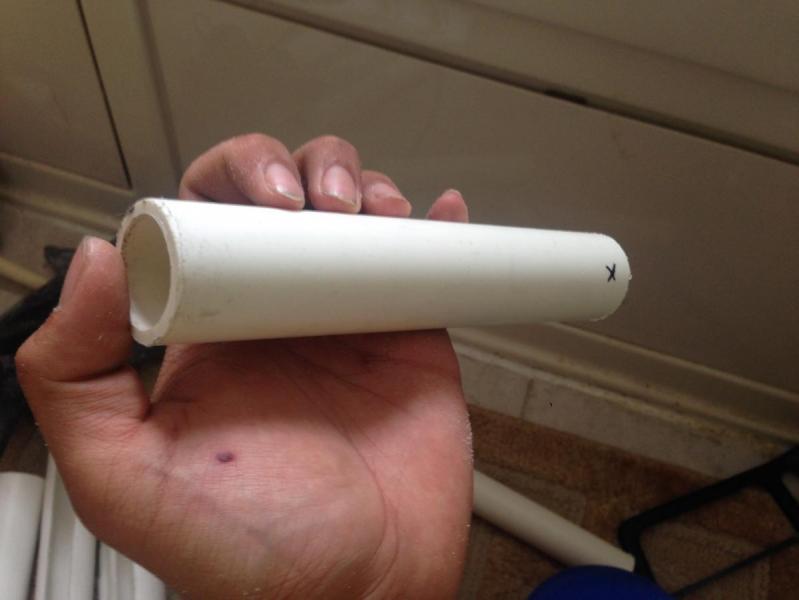
take your 7 in long 1in PVC. This is your "bolt" and make an x half an inch in. A little closer in wouldn't hurt

Drill straight through with a 7/64 bit
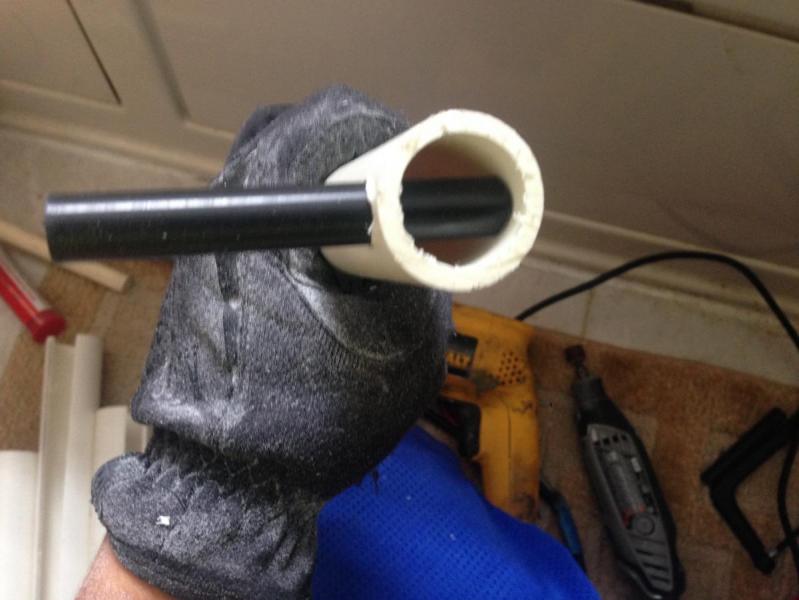
Drill with half in drill bit, deburr and put in Nylon rod. It should look flush(ish) like this
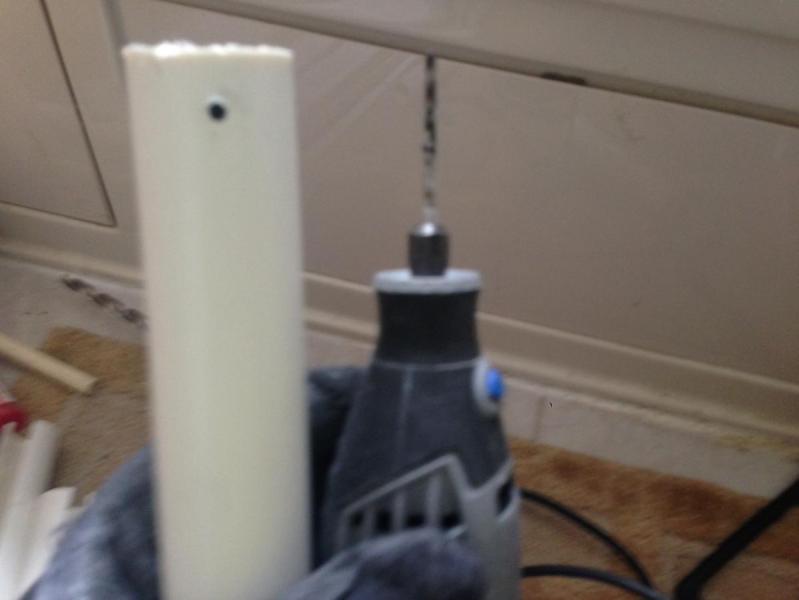
Make sure that hole is centered in the nylon. Now drill through the hole about 1-1/2 in or however long your flat head is. It should be at least an inch long. Do it slowly, and let material come out of the nylon. It gets hot as fuck and shit starts melting otherwise. Take your time.
Now for the ghetto countersinking. Take your half in material and by hand drill. You can even do this with a knife but remove material so there's space and enough for your flathead to sit in here.

Sink it in all the way. Make sure the flat head sits flush

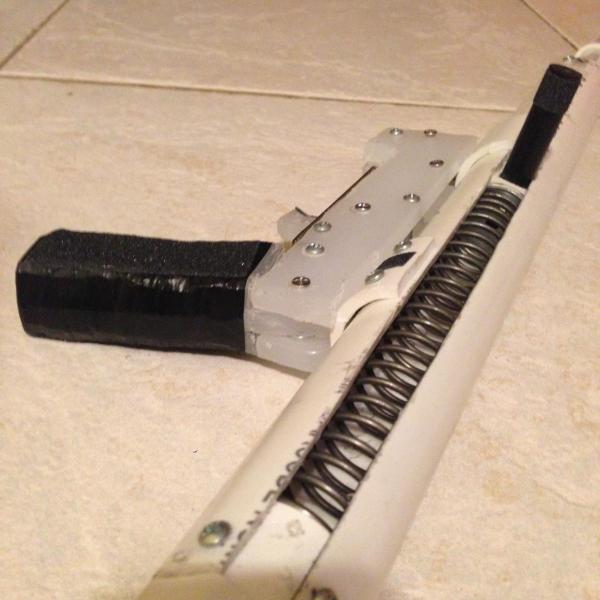
put it in the main body tube. The bolt carrier assembly should slide around with out lube. Sand the whole bolt assembly if needed
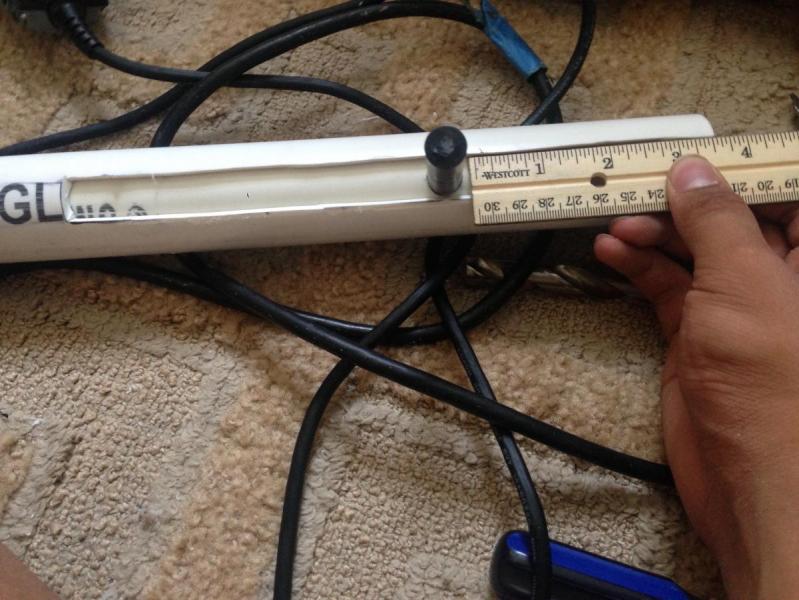
Now pull the bolt til you have 3-1/2 in of extra space left. That is where the spring compresses.

Hold the bolt, take your sharpie, check the small slot and use your sharpie to mark where the slots line up. Adjust the bolt up and down so your catch will catcha wether the bolt is more up or down
Take the bolt out and cut out them slots. Do the sandwhich thing, use pliers to get out the pieces, sand and deburr.

Now go to the front of the bolt. dremel a bit out so the 1/4 in long 3/4 in PVC sliver can fit flush. If you have magic 3/4, 1/2 in PVC may fit in there. If 1/2 in PVC doesn't fit in there, sand the fuck out of the 3/4 in PVC so the 1/2 in can fit in. it should all be tight and snug fit. Kinda finicky, you'll see why I did this later
OPTIONAL TACTICAL SPEEDHOLE BOLT
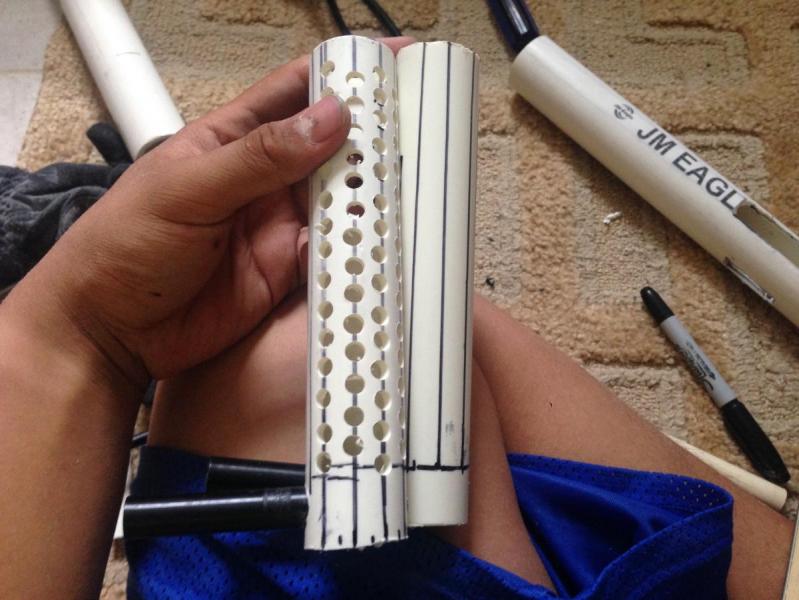

Cut a hole of cutting board that doesn't go to the edge of th seal but secure sits over the center. YOU CAN USE A DREMEL TO MAKE THIS, IT JUST WON'T LOOK PRETTY. Alternatively, but untested you can get a metal washer that's 1 in in diameter
(add photo)
Fill half the 1 in long 1/2 in PVC with Eputty. than put one 1 in long machine screws in through the center of a plate you julst drilled (or the hole of the washer) and let it sit
(add photo)
Attatch u cup/skirt seal and put in. make sure you push it in a bit tight
(add photo)
drill a hole near the front, counter sink and put a flathead through. This is so the plunger assembly doesn't come out
Add lube and you're good! However, I'd remove the seal and refraim from lubing til you finish the lower rciever. This is so you can just test and not get your reciever dirty.
(add photo)
Oh yea! don't forget that washer lol, or plate of cutting board. I just superglued it onto the back. Real simple.
Lower Reciever steps
This assembly should be near damn impossible to break unless you print it. even than, pretty hard
(add template)
Start off with cutting out this template or printing it. (Insert ESLT Lower)
This is the lower. I'm borrowing the ESLT sear because I'm lazy. Ignore the long clamp, and their return srping.
Basically, make this out of cutting board.
(insert photo)
So cut everthing out,

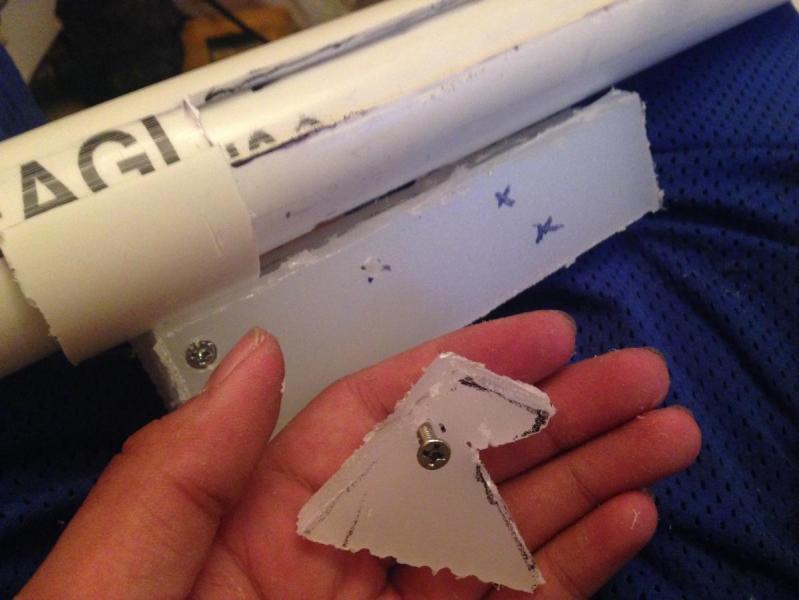
Assemble the side plates and spacer piece by drilling through and putting 2 regular machine screw though. Add #6 washers inbetween one of the plates on both screws to give it some space.
cut out a 1-1/2 in long piece of 1-1/2 in PVC. Than cut off a a third of it. This is your front clamp it should loook like a u.
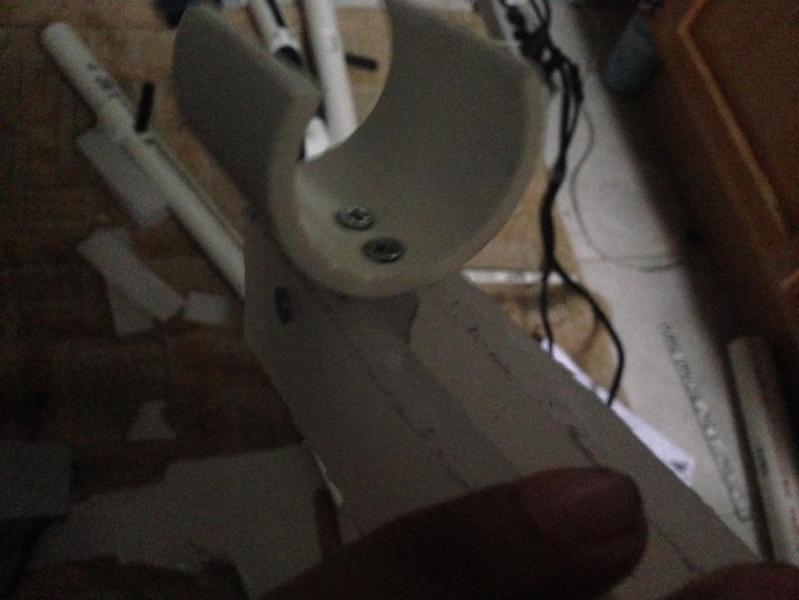
Drill into the spacer but avoid the machine screws. Drill into the PVC clamp. Tap where you drilled with ghetto bit and assemble so it sits on.
Than test to make sure your sear "catches" and locks
Drill the marked hole in your sear witha 5/32 bit. This is so it can move freely on a machine screw.
Drill through your lower with a 7/64, attatch sear like this on the screw and push on the sear and see if it catches again. If it catches, great move on. If not, drill your hole higher.
Drill the marked hole with a 1/8 bit again on the trigger, and than use drill witha 7/64 where marked
Screw through and assemble
Cut out another 1-1/2 in long piece of 1-1/2 in PVC and cut in half. You don't want this to snap on.
Connect to main handle piece
Center and align main handle so the reciever is striaght above catch.
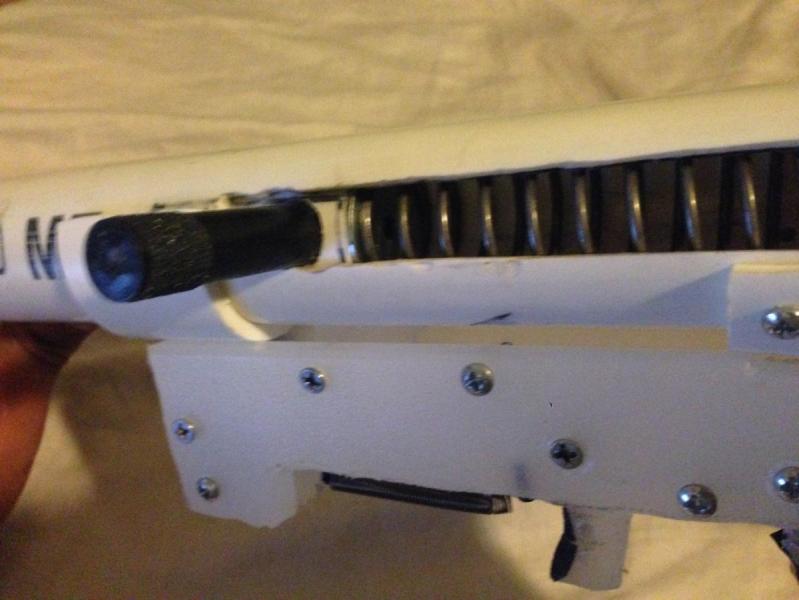
Drill through the rear PVC peice into the body tube, 2 in each side and screw in. Make sure bolt can move around freely still. If there is excess PVC in the way of the charging handle, cut it off.
Attatch side late to handle by drilling through all 3 and screwing in. sand the fuck out of it til it's a decent handle and you're willing to hold + use it. You're holding onto this all day, may as well make it good.
drill a hole somewhere into the front sear catch with a 5/32 bit, and one near the trigger/handle.
attatch a spring and screw them both in. test prime and make sure everything catches.
Now you have a finished lower reciever!
FINAL STEPS
your almost done! This last part is just assembly.
Add goop in ur 1/2 to 1-1/4 in bushing and than tap it at the front end. Add screws but goop those too!
Tape over your bushing because fuck that smell!
Now attatch the 3/4 to 1-1/4 in bushing in the end
This is the stock. cut 3/4 in PVC to however long you want, than cut another length to rest your shoulder up against.
Didn't put in the seal right? Well detatch the rear bushing AND lower reciever, remove the bolt and attatch lube the fuck out of it like so
guide the seal back in. When it comes to the slots, push the flaps of the ucup/skirt in and slide it in, shouldn't have much resistance, you don't want to tear the seal. Add more lube though the front of the bushing and you're good to go.
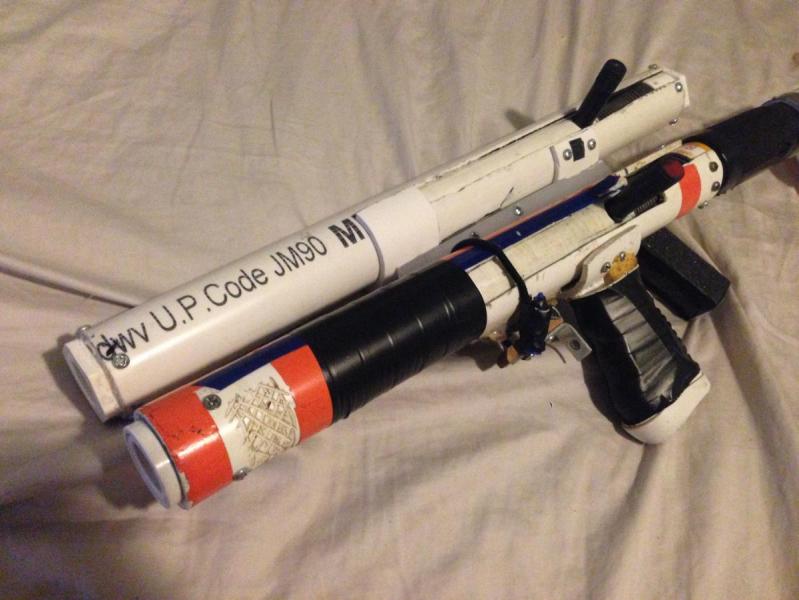
Add in the spring and attatch the stock along with the lower reciever. Boom. You got yourself a working primary, all you need is a hopper setup. A standard setup should suffice (12 in barrel, 5 dart hopper)
Go figure that out yourself.
RESULTS


END THOUGHTS
